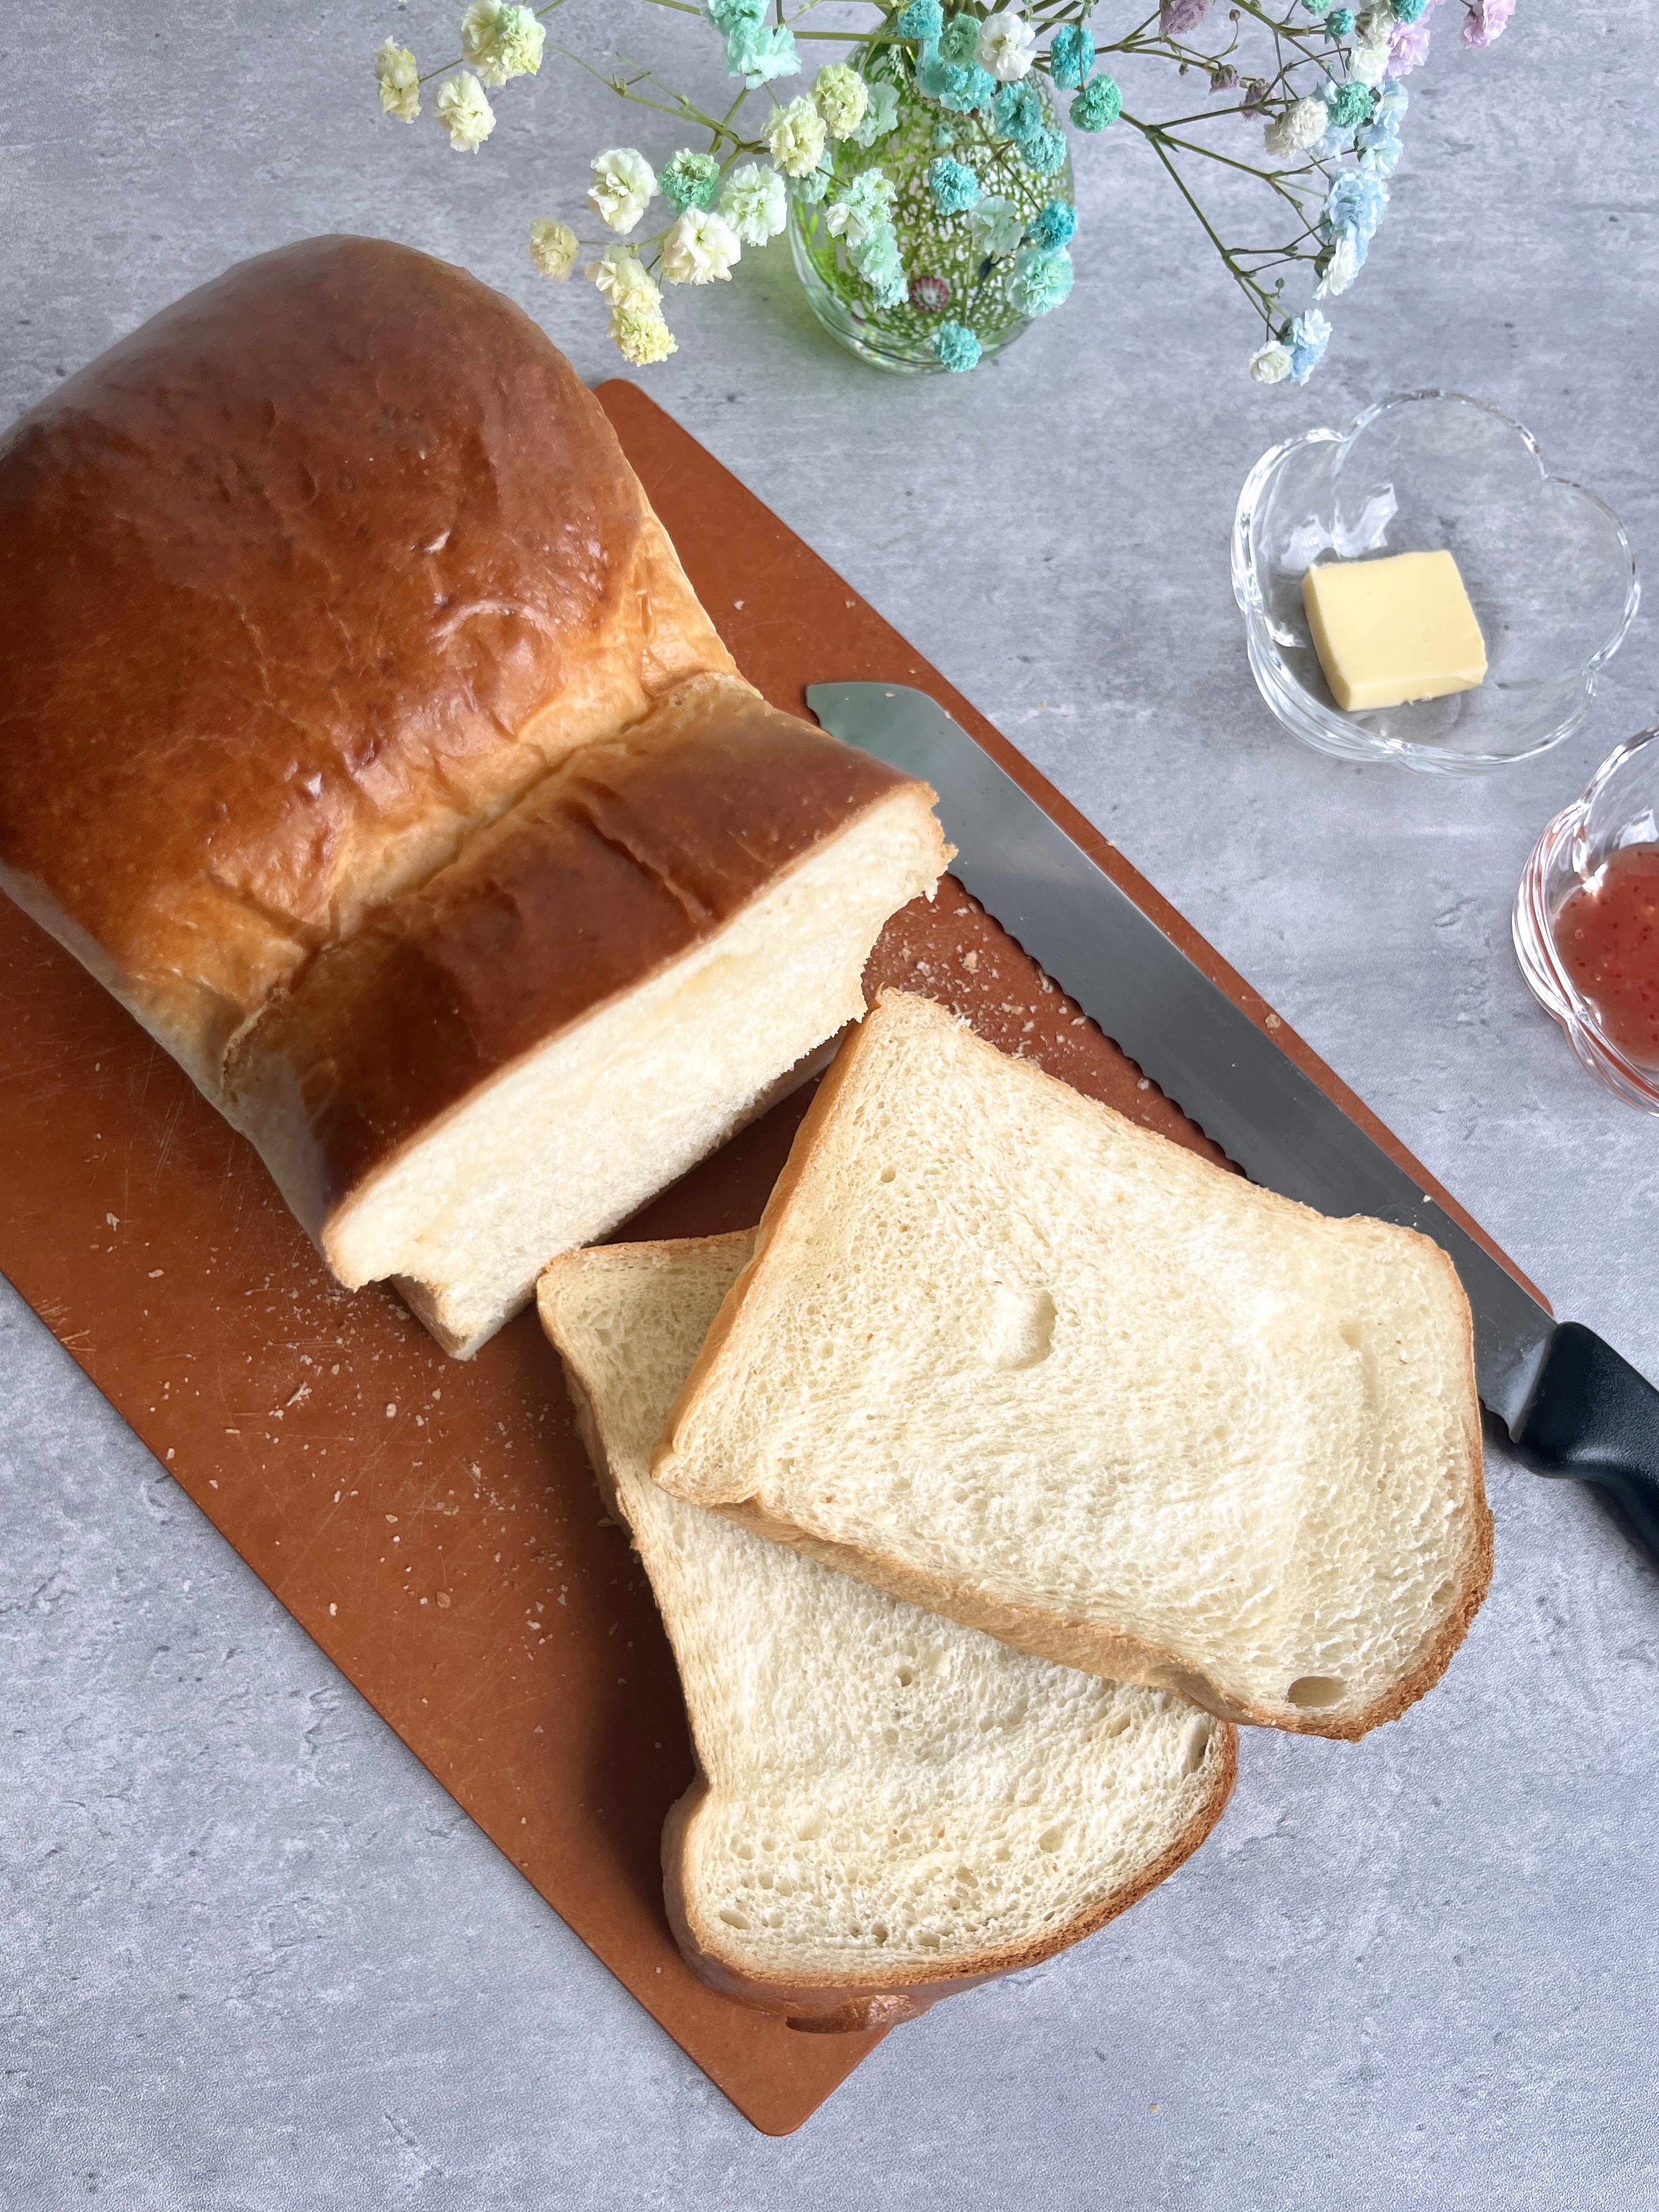
This white bread loaf has a golden-brown crispy crust with a pillowy-soft and tender crumb. Using yogurt to replace a small part of milk in the recipe, this makes the bread crumb even softer and fluffier! The best thing about making white bread loaf at home is that you can enjoy the freshly baked white toast instantly, and can cut them into however thick you want – you can have a thick white toast with spreads, make french toasts, or even use them as a sandwich bread!
I didn’t much like eating white bread when I was young as I thought it tasted dull and dry, especially because I always had to have sandwiches for breakfast early in the morning before school when I had no appetite at all (yep, I used to hate having breakfast). It was until I went to a boarding school in the UK where I tried white toasts with Nutella for the first time, then I began eating toasts for breakfast and tea-time snacks! Funnily, I joined a baking class after school with my friend and made white bread loaf from scratch, and began to love dough making and baking in general. When I flew back to Hong Kong for the holidays, I instantly made this white bread for my mum and she loved it!
Table of contents

Learn how to make this classic white bread from scratch with a crispy crust and a stretchy, pull apart crumb.
Ingredients for white bread loaf
- Bread flour: Using bread flour is ideal for this recipe that gives a chewy texture.
- Yeast: A leavening agent that allows the bread dough to rise with a light and airy texture.
- Salt: This seasons the bread with a savoury flavour and strengthens the dough structure.
- Sugar: Sugar activates the yeast to help aerate the dough and contributes to the sweetness of the bread.
- Milk: Not only does it enhance the sweetness of the bread, milk also creates a softer bread with a nice and crispy crust.
- Unsalted butter: This gives a buttery flavour to the bread and tenderises the bread dough to yield a soft and fluffy crumb.
- Yogurt: I love adding this extra ingredient in my bread recipes as it makes the bread extra soft! The acidity in yogurt helps break down the gluten in the bread flour to create a softer bread.

How to make white bread loaf
- Combine all the ingredients in a mixer bowl, leaving the unsalted butter for later use.
- Using a dough hook, knead the dough in the kitchen machine for around 5 minutes.
- When the dough begins to form a ball, do a windowpane test (see how-to below).
- Add in butter, then continue kneading for 10 minutes. Do a windowpane test again (see how-to below).


- Shape the dough into a ball and proof it for 1 hour (or until it doubles in size).


- Sprinkle some flour on the dough and pat to release air bubbles.


- Divide the dough in half then use a bread roller to flatten the dough and shape it into a rectangle.
- Fold the short sides into the centre. Rotate the dough and repeat the folding step. Let the dough rest for 15 minutes.


- Shape the bread dough into loaves and place them into a loaf tin side by side.
- Proof for the second time until they double in size (about 45 minutes to 1 hour).
- Preheat the oven to 180°C.
- Brush the loaves with egg wash and bake for 30-35 minutes in the oven.

How to shape white bread loaf
- Roll the dough into a rectangular shape.
- On the longer side, fold each side into the centre. Flatten it with the bread roller.
- Starting from the short side, roll up the dough into a cylinder shape. Pinch to seal the ends. Repeat the steps for the other piece.


Success tips for making a fluffy white bread loaf
Do not mix salt and yeast.
Add salt and yeast separately in the mixer bowl when you combine the ingredients, because with direct contact, the salt will kill the yeast and the dough will end up not rising!
Add in yogurt to the bread dough mixture.
Although adding in yogurt is optional, it does make a difference in the texture that makes the bread softer and fluffier! Its acidity and high portion of milk fat further weakens the gluten structure of the dough, making the crumb more tender and springy. Don’t forget to reduce the amount of liquid! Otherwise, the dough will become very sticky.
Do windowpane tests.
This allows you to verify whether your dough is strong and elastic enough to hold the bubbles as it rises and stretch even more when it is baked in the oven. If the dough doesn’t pass the test, it’s probably under-kneaded so some more kneading would do the work! You could also cover the dough with cling film and let it rest for 15-20 minutes to develop the gluten structure before performing another test.
How to do a windowpane test?
I normally perform the test twice during the kneading process before proofing the dough to ensure the gluten has been well developed. I do a test before adding in butter by pulling out a small piece and stretching it out gently. The dough should be smooth and elastic at this point, and as it tears apart, the holes should have rough edges.
For the second test (performed after kneading the dough with butter added), the dough should be more easily stretched out without breaking. You could use a finger to poke a hole and this time, the hole should be smooth without rough edges. This means the dough is ready to rise!


What if I don’t have yogurt at home?
You can substitute yogurt with milk using an equal amount. Normally, if a bread recipe calls for 1 cup of milk, you can substitute with 1/4 cup yogurt and 3/4 cup milk. For this recipe, I used 60g yogurt and 200g milk. If you’re using milk only, simply add in a total of 260g milk in the dough mixture. The bread will still come out fluffy and chewy!
What is the purpose of milk in breadmaking?
The fat in the milk makes the dough more extensible, which allows it to puff up more evenly by weakening the gluten of the flour, while the sugar in the milk helps with caramelising the crust and adds sweetness to the bread.

Other bread recipes


I’d love to hear about your experience making my recipes! If you’ve tried this White Bread Loaf recipe or any other recipe on HomeCookJournal, then don’t forget to rate the recipe and leave a comment below. Feel free to take snapshots of your experience with my recipes and share them on Instagram so I can repost on stories! And if you have any other foods you’d like to make, please feel free to comment as well!

White Bread Loaf
Equipment
- 1 Kitchen machine
- 1 Electronic scale
- 1 Dough scraper
- 1 Rolling Pin
- 1 Silicone baking mat chopping board works well too
- 1 bread loaf pan (L20cm x W11cm x H11cm)
Ingredients
For the bread dough
- 350 g bread flour
- 30 g sugar
- 1 tsp salt
- 2 tsp instant dry yeast
- 200 ml milk
- 60 g plain yogurt
- 30 g unsalted butter
For the egg wash
- 1 egg
- 1 tbsp water
Instructions
- In a mixer bowl, combine bread flour, sugar, salt, dry yeast, milk and plain yogurt, leaving the unsalted butter for later use.
- Using a dough hook, knead the dough on low speed to gently mix the ingredients for 15-30 seconds.
- Gradually raise the speed. Knead for 5 minutes.
- When the dough begins to form a ball, do a windowpane test (see Note 1).
- Add in unsalted butter. then continue kneading for 10 minutes. Do a windowpane test again (see Note 2).
- Take out the dough from the mixer bowl and shape it into a ball.
- Place it back into the mixer bowl, cover it with a damp cloth or cling film and proof it for 1hr (or until double in size) in room temperature.
- After 1 hour, take out the dough and check if it has properly proofed (see Note 3).
- Sprinkle some flour on the dough surface and pat the dough to release air bubbles.
- Divide the dough in half and work on one piece at a time.
- Gently flatten the dough and shape it into a rectangular shape.
- Fold top and bottom sides into the centre. Rotate the dough, gently flatten it, and fold the other two sides.
- Cover them with a damp cloth or cling film. Let them rest for 15 minutes.
- Sprinkle some flour on the dough surface, roll the dough into a rectangular shape.
- On the longer side, fold each side into the centre. Roll the dough to flatten it.
- Starting from the short side, roll up the rectangular dough into a cylinder shape.
- Pinch to seal the seams and the ends.
- Repeat for the other piece.
- Place the loaves into a loaf tin and proof for the 2nd time (about 45 minutes to 1 hour) at room temperature.
- Preheat the oven to 180°C.
- Gently brush the loaves with egg wash.
- Bake for 30-35 minutes.
Notes
- For the 1st windowpane test, the dough should be quite rough and tough, and tears apart easily. The holes should have rough edges.
- For the 2nd windowpane test, the dough should be easily stretched out without breaking it. The holes should have smooth edges. If this is the case, the dough is ready to rise.
- To check whether the dough has properly proofed, dip your finger with some flour and make a dent in the dough. If it bounces back slowly and only half way, this means it is ready for shaping.